Creating a Konan Compatible ML Webservice
If you're using Python, an easier option of deploying models to Konan would be use Konan Templates.
Web Server
The first thing we need in order to communicate with the ML model is a web server. There are plenty of web server frameworks out there that you can use, feel free to use whichever you're comfortable with. If you're undecided, we recommend using Fast API for python implementations and plumber for R implementations.
- Python
- R
Fast API is a cool and minimal web framework with a similar interface to Flask but with a faster performance. It's fairly easy to get started with as well as being loaded with advanced features that we’ll be needing for a smooth integration with Konan. To install fastpi, run:
pip install fastapi[all]
This will install fastapi as well as its dependencies such as uvicorn which is the server that runs the code.
You will need to create a requirements.txt file and add fastapi as well as uvicorn for later use.
Creating a web server for your app is as simple as this:
from fastapi import FastAPI

# initializing your app
app = FastAPI()

# TODO: load you model weights here (for later use)
We'll be building on top of server.py as we go along the guide.
For testing purposes, you can run the web server locally using this command:
uvicorn server:app --reload
then go to http://localhost:8000 in your browser. There's nothing to see or test yet, but that'll change in the next section.
server: the file server.py (the Python "module").
app: the object created inside of main.py with the line app = FastAPI().
--reload: make the server restart after code changes. Only use for development.
Plumber allows you to define API endpoints by simply adding some roxygen2-like comments to your existing code.
To install plumber, run the following from within an R session:
install.packages("plumber")
We will be working with two files, server.R, where the web server is defined and endpoints.R for the web server's endpoints (more on that in the next section).
Assuming your endpoints are defined in endpoints.R, getting your server up and running is as simple as this:
library(plumber)
# 'endpoints.R' is the location of the endpoints file
pr("endpoints.R") %>%
pr_run(port=8000)
Run the R script using:
Rscript "server.R"
to launch your web server which will be waiting for requests at http://127.0.0.1:8000.
Endpoints
An endpoint is the URL used to communicate with the web server. A request refers to the input to the endpoint and a response refers to the output of the endpoint. [In the case of model serving, we’ll need a prediction endpoint for inferencing.]
There are two main components that need to be defined in most endpoints:
- Data validators, which are used to both enforce and communicate the expected format of the data going into (and out of) the model. For example, if your model expects feature A as a boolean and feature B as an integer, your data validator should specify these types. If the input does not follow this format, a value error should be raised. Data validators are also essential for generating the model's API docs which makes the model usable (more on that in a bit).
- Endpoint logic, which calls the model's predict function. It may also include some pre-processing or post-processing before or after calling the predict function.
/predict
The first and most important endpoint required in the web server is, of course, the prediction endpoint. This is the endpoint that will return the model's output for a given input. The following is an example of how you can implement your endpoint while incorporating data validators.
- Python
- R
Prediction request validator:
FastAPI uses pydantic for data validation, which supports an array of data types you can find here. The following is an example of a prediction request data validator that specifies the format of the input data coming into the model.
from pydantic import BaseModel, validator

class PredictionRequest(BaseModel):
    """
    Request validator.
    """
    some_feat: str
    other_feat: int
    optional_field: Optional[bool] = None # default value

    # TODO: add validators to enforce value ranges
    @validator('some_feat')
    def in_values(cls, v):
        """
        Validates prediction score is in ranges or limits.
        """
        if v not in ["A", "B", "C"]:
            raise ValueError('Unkown value, must be a value in ["A", "B", "C"]')
        return v
As the use of the @validator property shows in the example, you’re encouraged to go crazy with validation. The more
strict the validation is, the easier the debugging becomes. For example, for gender columns, instead of just putting a
str type, add a restriction to enforce it being only M and F or whatever else your model accepts.
Prediction endpoint logic:
Create a POST /predict endpoint, this is where the prediction logic is called. Make sure you pass the prediction request
validator as an input to the function as shown below (PredictionRequest was defined in the above snippet).
@app.post("/predict")
def predict(req: PredictionRequest):

    # TODO: call preprocessing function (if exists)

    # TODO: call model's predict function
    prediction = True # TODO: replace

    # TODO: call postprocessing function (if exists)

    return {"output": prediction}
Plumber does not automatically validate paramter types, nor if they are required or not.
It will try to cast the passed parameters to the defined type which may lead to errors (e.g. providing "x" to an int parameter will result in NA).
It will not check if a required parameter is provided or not. For the parameters to be included in the request body, define their type as df.
That's why it's recommended to implement your own validation logic that checks input parameter types, if all required parameters are provided and if there are any other constraints such as allowed values.
Create a POST /predict endpoint, this is where the prediction logic is called.
#* Return a prediction using two reuired and two optional parameters
#* @param feat_1_int:df Required, numeric argument, must be in [1,5]
#* @param feat_2_int:df Optional, numeric argument, must be in [10,15]
#* @param feat_1_char:df Required categorical variable, must be one of ['Blue', 'Red', 'Green']
#* @param feat_2_char:df Optional categorical variable, must be one of ['Blue', 'Red', 'Green']
#* @post /predict
function(req, feat_1_int, feat_2_int = NULL, feat_1_char, feat_2_char = NULL) {

  required_parameters <- c('feat_1_int', 'feat_1_char')
  body <- jsonlite::fromJSON(req$postBody)
  json_input <- body
  input_df <- json_input %>% as.data.frame

  check_required_parameters(names(input_df), required_parameters)
  check_parameter_ranges(input_df)
  if(input_df$feat_1_char == 'Green') model_rds_path <-  "green_model.rds"
  if(input_df$feat_1_char == 'Red') model_rds_path <-  "red_model.rds"
  if(input_df$feat_1_char == 'Blue') model_rds_path <-  "blue_model.rds"


  model <- readRDS(model_rds_path)
  model_input <- input_df %>% select(feat_1_int, feat_2_int) %>% as.matrix()
  prediction <- predict(model, model_input)

  return(list(y = prediction))
}
/docs
This endpoint is used to return the generated API documentation of the web server endpoints. The generated document is used to communicate how to use the API by defining the inputs and outputs expected by API. In our case, the API is the collection of endpoints exposed by the web server. The generation of this document is made possible by the data validators previously defined in the web server. Once you have the endpoints' data validators in place, it becomes fairly simple to generate this document.
- Python
- R
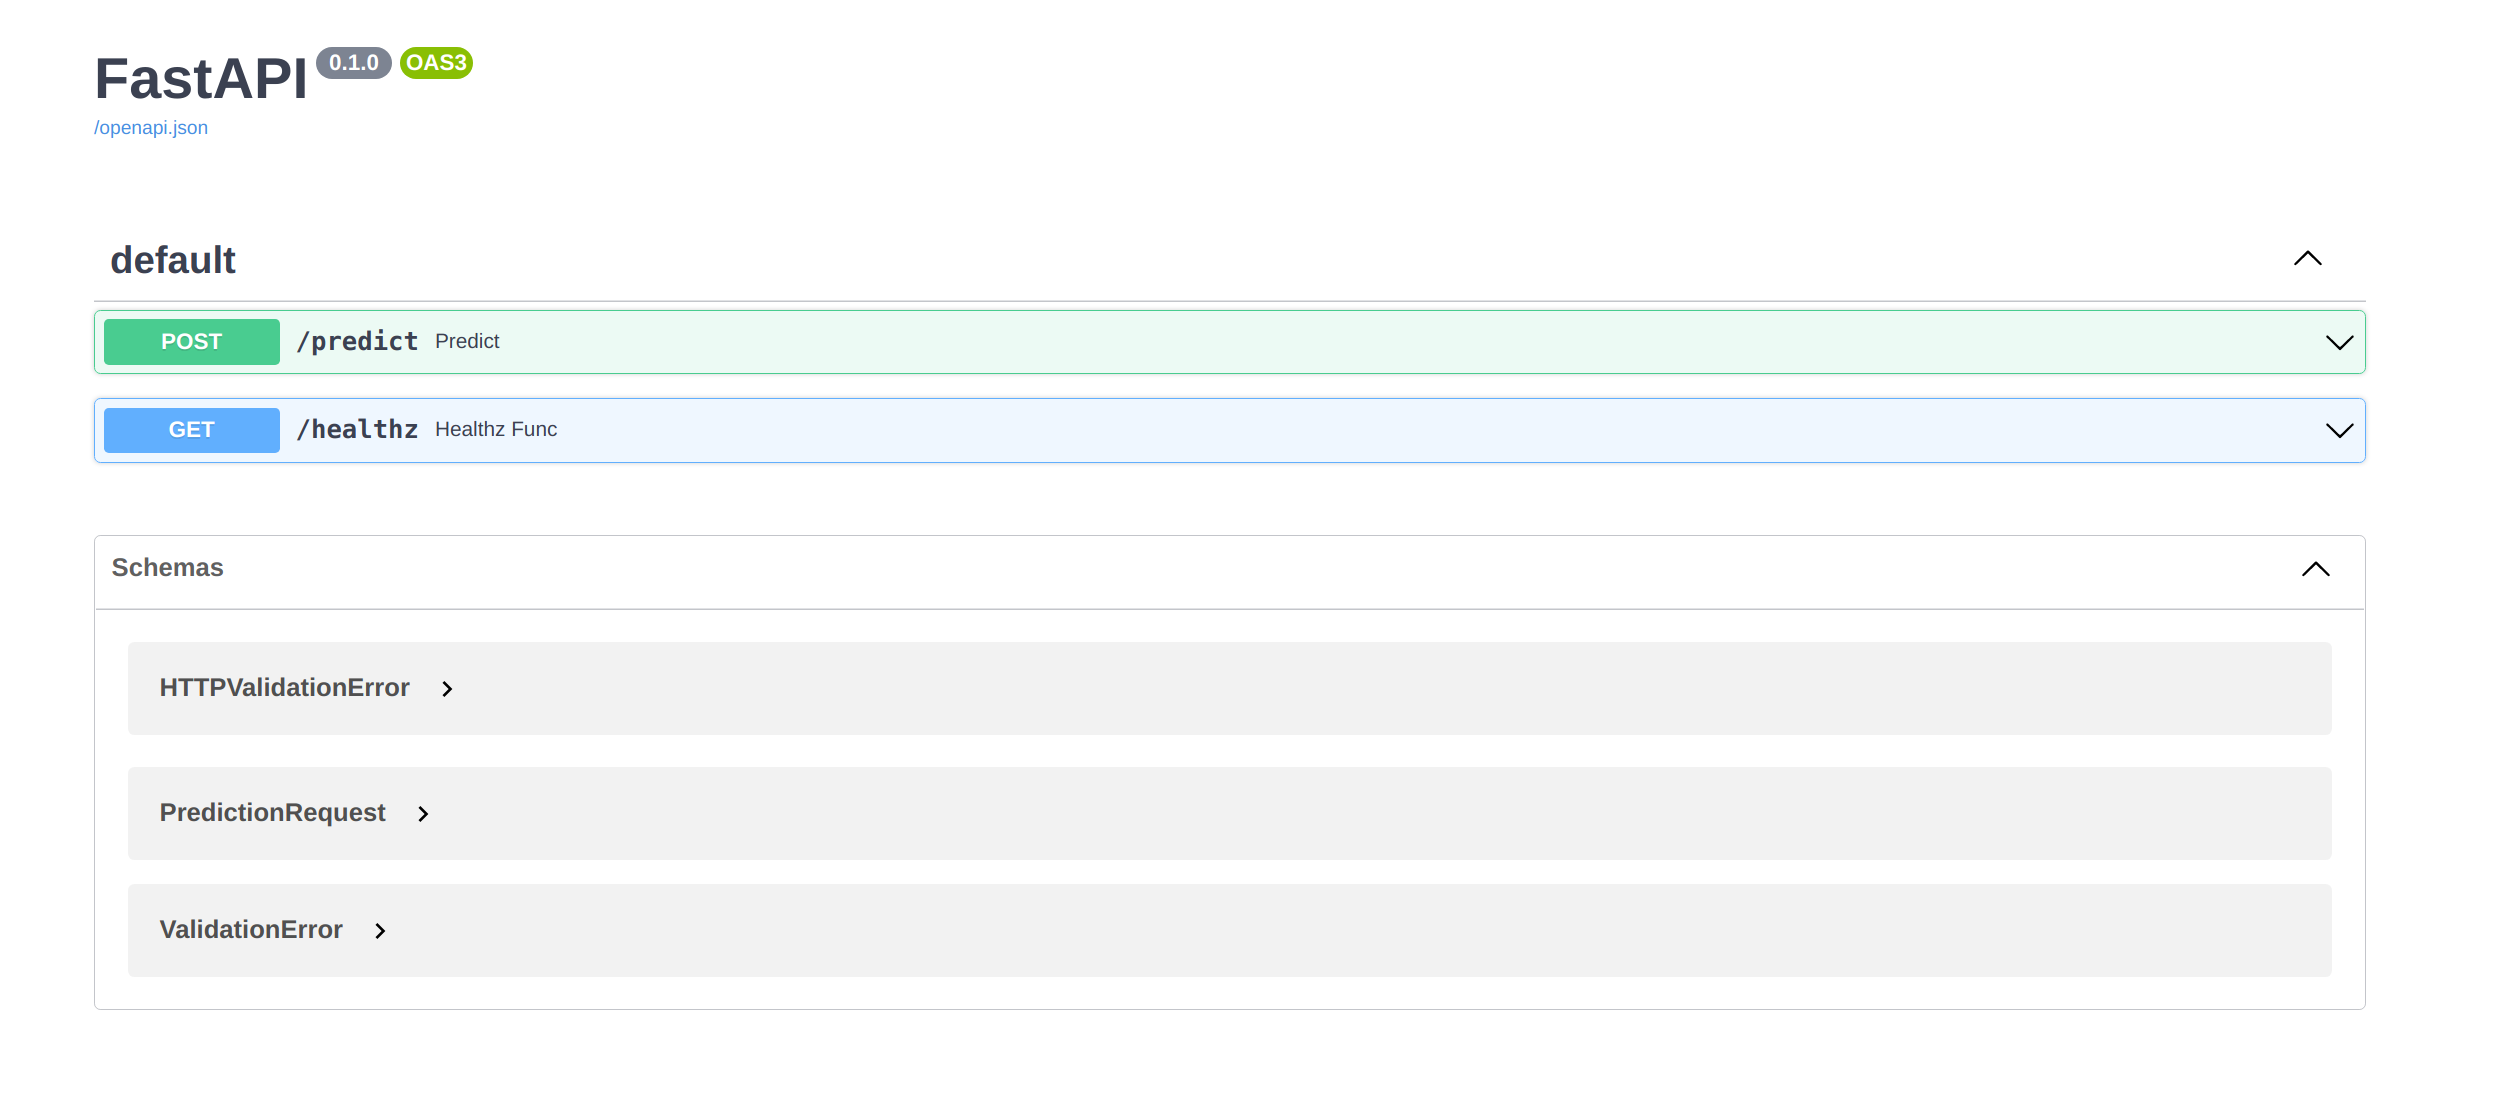
If you run the server (uvicorn server:app --reload) and go to http://localhost:8000/docs, you should see the interactive API document generated by SwaggerUI.
In order to integrate with Konan, we'll need this endpoint to return the docs' json format instead of the rendered html. This can be achieved by adding the following argument in the app initialization:
from fastapi import FastAPI

app = FastAPI(openapi_url='/docs')
Plumber generates the swagger documentation by following the above params format. The parameters with default NULL values are automatically identified as optional parameters in the generated swagger documentation.
To make sure any constraints such as allowed ranges for specific variables appear, make sure to include them in the comments before the definition of /predict.
If you run the server (Rscript "server.R") and go to http://127.0.0.1:8000/__docs__/, you should see the interactive API document generated by SwaggerUI.
In order to integrate with Konan, we'll need a GET /docs endpoint to return the docs' json format instead of the rendered html. To do that, you will have to add the following endpoints.R Code
#* Returns OpenAPI documentation
#* @get /docs
endpoint.docs <- function(req, res) {
  res$status <- 303 # redirect
  res$setHeader("Location", "./openapi.json")
  return("\n")
}
If you're using a different framework and plan to implement this endpoint, make sure you return an OpenAPI V3 json, earlier versions will not render.
/healthz
This is a simple GET endpoint that is used internally by Konan for integration purposes. Including it is required for the
deployment to work.
- Python
- R
@app.get('/healthz')
def healthz_func():
    """
    Health check for API server.
    """
    return Response(content="\n", status_code=200, media_type="text/plain")
#* @get /healthz
#* @serializer json list(auto_unbox=TRUE)
endpoint.healthz <- function(req) {
  return("\n")
}
/evaluate
The evaluate endpoint is optional, but highly useful. It allows you to expose the model evaluation metrics of your choice.
This is a POST endpoint that takes a list of dicts, where each dict contains a prediction value and its corresponding groundtruth obtain by the Konan feedback endpoint.
[
  {
  "prediction": "value_1",
  "target": "true_value_1"
  },
  {
    "prediction": "value_2",
    "target": "true_value_2"
  }
]
It expects the response also as a list of dicts (or just one), where each dict contains the evaluation metric name and its value. For example:
[
  {"metric_name": "MSE", "metric_value": "1.5"},
  {"metric_name": "Accuracy", "metric_value": "0.99"}
]
- Python
- R
class EvaluationRequestDict(BaseModel):
    prediction: Any
    target: Any

class EvaluationRequest(BaseModel):
    data: List[EvaluationRequestDict]

class EvaluationResponseDict(BaseModel):
    metric_name: str
    metric_value: Any


class EvaluationResponse(BaseModel):
    results: List[EvaluationResponseDict]

@app.post("/evaluate", response_model=EvaluationResponse)
def evaluate_func(req: EvaluationRequest):
    """
    Evaluate metrics for model perfomance based on predictions and ground truth
    """

    # Evaluate model performance
    results = [{"metric_name": "MSE", "metric_value": "1.5"}, {"metric_name": "Accuracy", "metric_value": "0.99"} ]

    return {"results": results}
Your server file should now look like this:
- Python
- R
from fastapi import FastAPI, Response
from pydantic import BaseModel, validator, ValidationError

# import the types you need
from typing import Optional

app = FastAPI(openapi_url="/docs")
# TODO: load you model weights here

class PredictionRequest(BaseModel):
    """
    Request serializer for input format validation.
    """

    some_feat: str
    other_feat: int
    optional_field: Optional[bool] = None  # default value

    # TODO: add validators to enforce value ranges
    @validator("some_feat")
    def in_values(cls, v):
        """
        Validates prediction score is in ranges or limits.
        """
        if v not in ["A", "B", "C"]:
            raise ValidationError('Unknown value, must be a value in ["A", "B", "C"]')
        return v


@app.post("/predict")
def predict(req: PredictionRequest):
    """
    Prediction logic.
    """

    # TODO; call preprocessing function (if exists)

    # TODO: call model's predict function
    prediction = True # TODO: replace

    # TODO: call postprocessing function (if exists)

    return {"output": prediction}


@app.get("/healthz")
def healthz_func():
    """
    Health check for API server.
    """
    return Response(content="\n", status_code=200, media_type="text/plain")

class EvaluationRequestDict(BaseModel):
    prediction: Any
    target: Any

class EvaluationRequest(BaseModel):
    data: List[EvaluationRequestDict]

class EvaluationResponseDict(BaseModel):
    metric_name: str
    metric_value: Any


class EvaluationResponse(BaseModel):
    results: List[EvaluationResponseDict]

@app.post("/evaluate", response_model=EvaluationResponse)
def evaluate_func(req: EvaluationRequest):
    """
    Evaluate metrics for model perfomance based on predictions and ground truth
    """

    # Evaluate model performance
    results = [{"metric_name": "MSE", "metric_value": "1.5"}, {"metric_name": "Accuracy", "metric_value": "0.99"} ]

    return {"results": results}
library(xgboost)
missing_params <- function(message = "Missing required parameters.") {
  api_error(message = message, status = 400)
}

invalid_range <- function(parameter) {
  message = paste0(parameter, ' is not within the allowed range.')
  api_error(message = message, status = 400)
}

api_error <- function(message, status) {
  err <- structure(
    list(message = message, status = status),
    class = c("api_error", "error", "condition")
  )
  signalCondition(err)
}

between <- function(value, min, max){
  return((value >= min) & (value <= max))
}

# Function that checks if all required parameters are present
check_required_parameters <- function(provided_args, required_parameters){
  if (all(required_parameters %in% provided_args) == FALSE) {
    missing_params("Missing required parameters.")
  }
}

# Function that checks if all parameters are within the allowed range
check_parameter_ranges <- function(input_df){
  feat_1_int_range <- c(1,5)
  feat_2_int_range <- c(10,15)
  feat_1_char_values <- c('Blue',
                          'Red',
                          'Green')
  feat_2_char_values <- c('Blue',
                          'Red',
                          'Green')
  if(!(input_df$feat_1_int %>% between(feat_1_int_range[1], feat_1_int_range[2]))) invalid_range('feat_1_int')
  if(('feat_2_int' %in% names(input_df)))
    {if(!(input_df$feat_2_int %>% between(feat_2_int_range[1], feat_2_int_range[2]))) invalid_range('feat_2_int')}
  if(!(input_df$feat_1_char %in% feat_1_char_values)) invalid_range('feat_1_char')
  if(('feat_2_char' %in% names(input_df)))
    {if(!(input_df$feat_2_char %in% feat_1_char_values)) invalid_range('feat_2_char')}

}

#* Return a prediction using two reuired and two optional parameters
#* @param feat_1_int:int Required, numeric argument, must be in [1,5]
#* @param feat_2_int:int Optional, numeric argument, must be in [10,15]
#* @param feat_1_char Required categorical variable, must be one of ['Blue', 'Red', 'Green']
#* @param feat_2_char Optional categorical variable, must be one of ['Blue', 'Red', 'Green']
#* @post /predict
function(req, feat_1_int, feat_2_int = NULL, feat_1_char, feat_2_char = NULL) {

  required_parameters <- c('feat_1_int', 'feat_1_char')
  body <- jsonlite::fromJSON(req$postBody)
  json_input <- body
  input_df <- json_input %>% as.data.frame

  check_required_parameters(names(input_df), required_parameters)
  check_parameter_ranges(input_df)
  if(input_df$feat_1_char == 'Green') model_rds_path <-  "green_model.rds"
  if(input_df$feat_1_char == 'Red') model_rds_path <-  "red_model.rds"
  if(input_df$feat_1_char == 'Blue') model_rds_path <-  "blue_model.rds"


  model <- readRDS(model_rds_path)
  model_input <- input_df %>% select(feat_1_int, feat_2_int) %>% as.matrix()
  prediction <- predict(model, model_input)

  return(list(y = prediction))
}
library(plumber)
# 'plumber.R' is the location of the file shown above
pr("endpoints.R") %>%
  pr_run(port=8000)
Local Testing
After creating all the endpoints, try test them locally before moving on to the next step. You can do that by starting your web server locally then hitting each of the above endpoints with the expected (and unexpected) data.
Here's an example of how you can test:
- Python
- R
- Run the server:
uvicorn server:app --reload
- In a separate commandline window, run the following command, feel free to change the data afyer
-dto what your model expects:
curl -X POST "http://localhost:8000/predict/" -H "accept: application/json" -H "Content-Type: application/json" -d "{\"some_feat\":\"A\",\"other_feat\":\"1\", \"optional_field\": \"True\"}"
This command sends a post request to the predict endpoint with the following payload, i.e., request body:
{
    "some_feat": "value_1",
    "other_feat": "2",
    "optional_field": "True"
}
If you passed to correct values in the request, you should see your model's expected output in the terminal:
{"output":true}
- Run the server:
Rscript server.R
- In a separate commandline window, run the following command, feel free to change the data after
-dto what your model expects:
curl -H "Content-Type: application/json" --data '{"feat_1_int":4, "feat_1_char": "Blue"}' http://localhost:8000/predict
This command sends a post request to the predict endpoint with the following payload, i.e., request body:
{
    "feat_1_int":4,
    "feat_1_char": "Blue"
}
If you passed to correct values in the request, you should see your model's expected output in the terminal:
{"y":[0.5284]}
Now that you’re done exposing all the necessary endpoints, you're one step closer to deploying your model on Konan. Head over to the next section to containerize your app.